

 Ceiling
 Concrete Products
 Roofing


 Glues & Adhesives


 Counter Tops MarbleX
 Fasteners
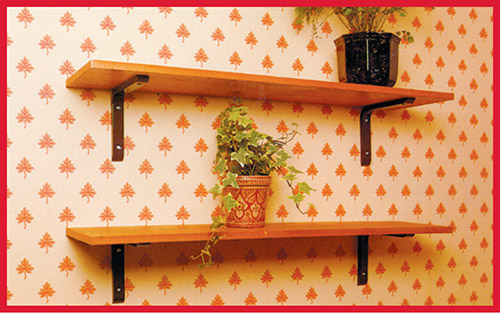
Fitting Fixed Shelving Using Shelf Brackets
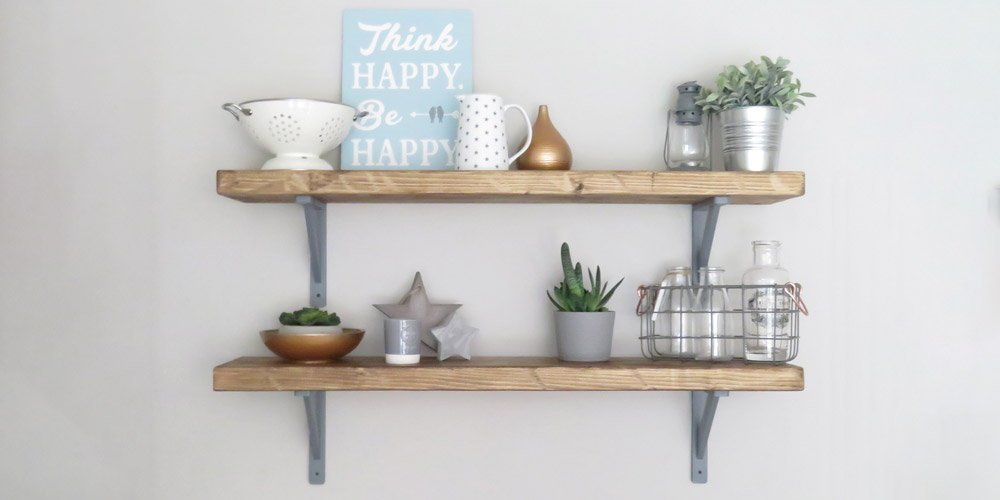
Fitting Fixed Shelving Using Shelf Brackets
Need some extra shelving? Follow this guide to get the job done perfectly.
Your tools:
- Pencil
- Spirit Level
- Drill
- Screwdriver
- Step Ladder
- Tape Measure
Materials:
- Wooden Shelf
- Shelf Brackets
- Wall Plugs
- Wall Screws
Step 1
Select the correct bracket spacing, then attach the shorter arm of each bracket to the underside of the shelf, flush with the rear edge.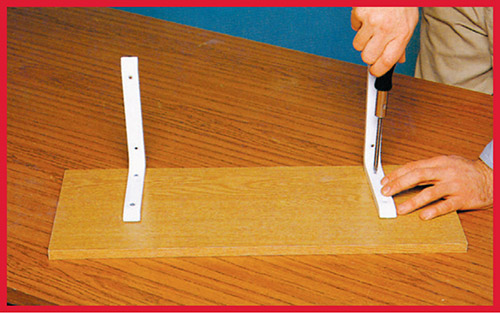
Step 2
Fix the shelf to the wall with a screwdriver through one bracket, then check that it is horizontal with a spirit level and mark all the remaining screw positions.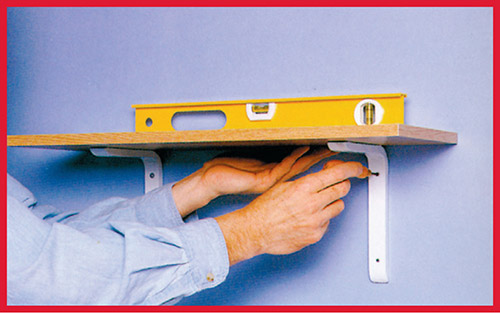
Step 3
Let the shelf swing downwards on its first fixing screw, then drill the other Holes. Insert plugs for masonry wall fixings if needed.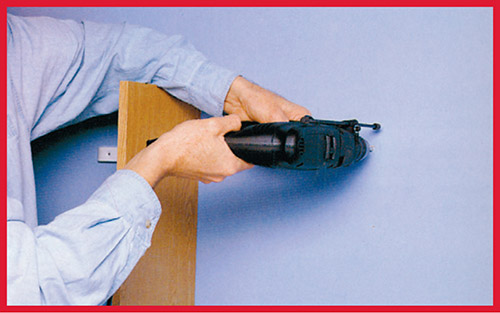
Step 4
Swing the shelf back up into position and drive in the remaining fixing screws. Tighten them fully so that the screw heads pull the brackets against the wall.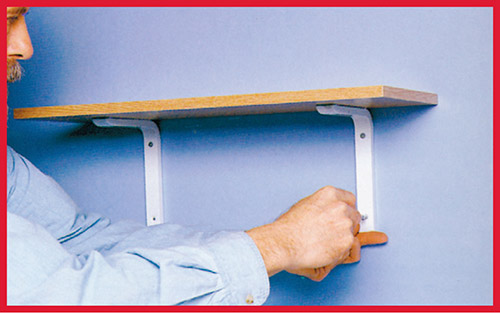
Individual brackets can be used to mount more than one shelf, as long as there is no need to change the shelf spacing in the future.